
How To Program A Garage Door Remote: Simple Step-By-Step Guide
Introduction
Losing a remote or unboxing a new one that will not work can throw off the whole day. If you searched how to program a garage door remote, you want a straight answer that works the first time. We get it. Manuals can feel confusing, and every opener seems to have a different trick.
Here is the good news. When you know the right steps, how to program garage door remote usually takes five minutes or less. Most modern openers use a Learn button. Older units use DIP switches. Universal remotes can cover both, as long as you match the opener’s tech.
At T&I Home Services, we like to help neighbors across Delaware, Montgomery, and Chester Counties solve simple tasks fast. We also step in when the problem is bigger than a remote. In this guide, we show how to program garage door remote for modern and older systems, how to handle universal remotes, quick fixes for common hiccups, and when it is time to call a pro.
Stick with us, and you will walk away knowing exactly which method to use, the timing to hit, and the signs that point to a larger opener issue. If you ever need hands-on help, we are one call away.
“Tap the Learn button—don’t hold it—then move with purpose. Most pairing windows are about 30 seconds.” — T&I Home Services Technician Tip
What You Need Before Programming Your Garage Door Remote
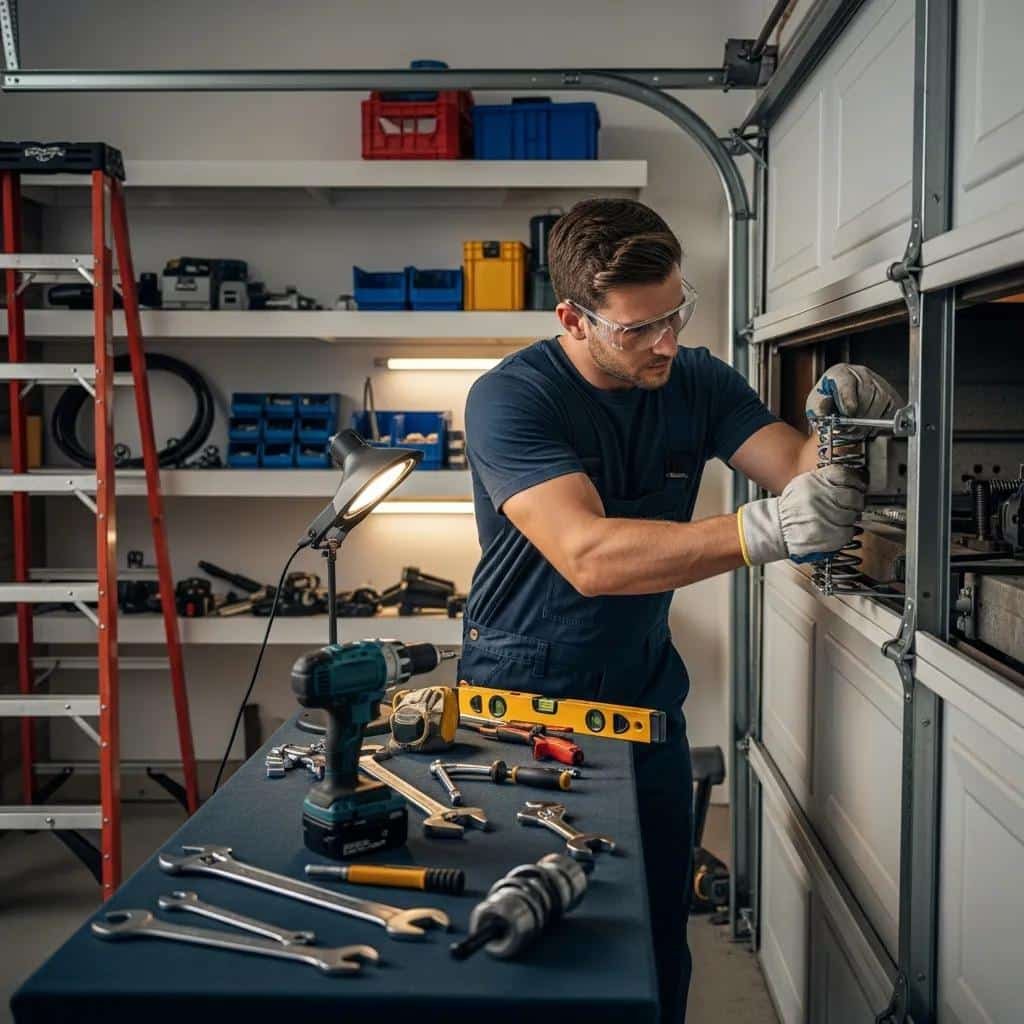
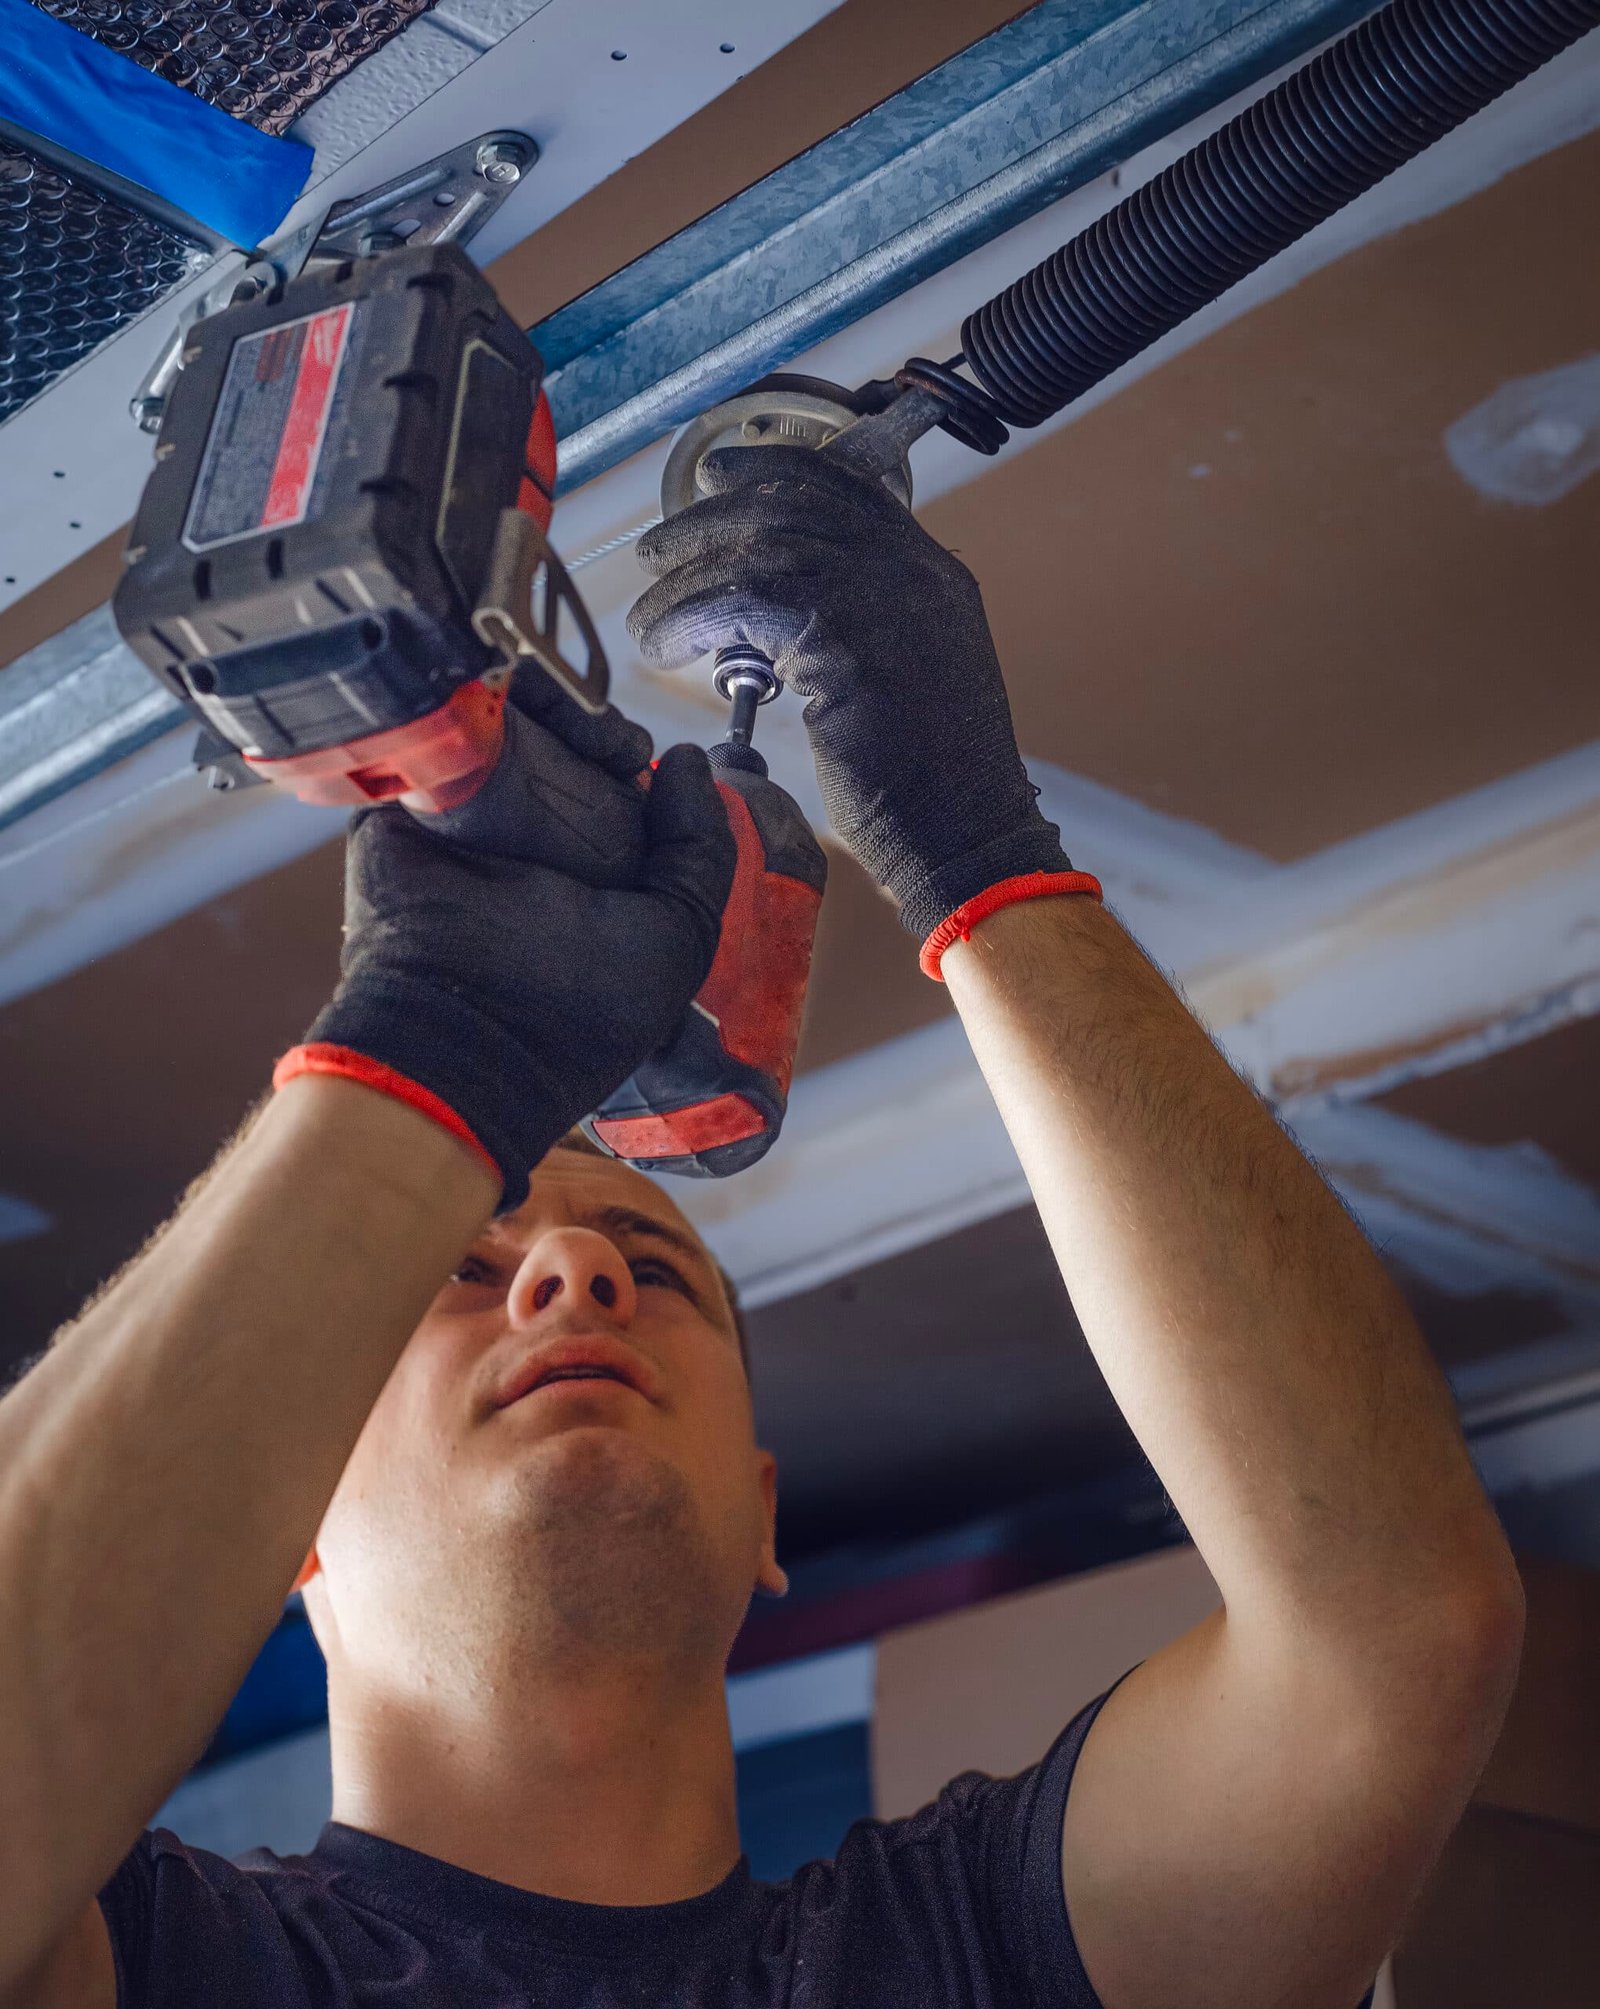
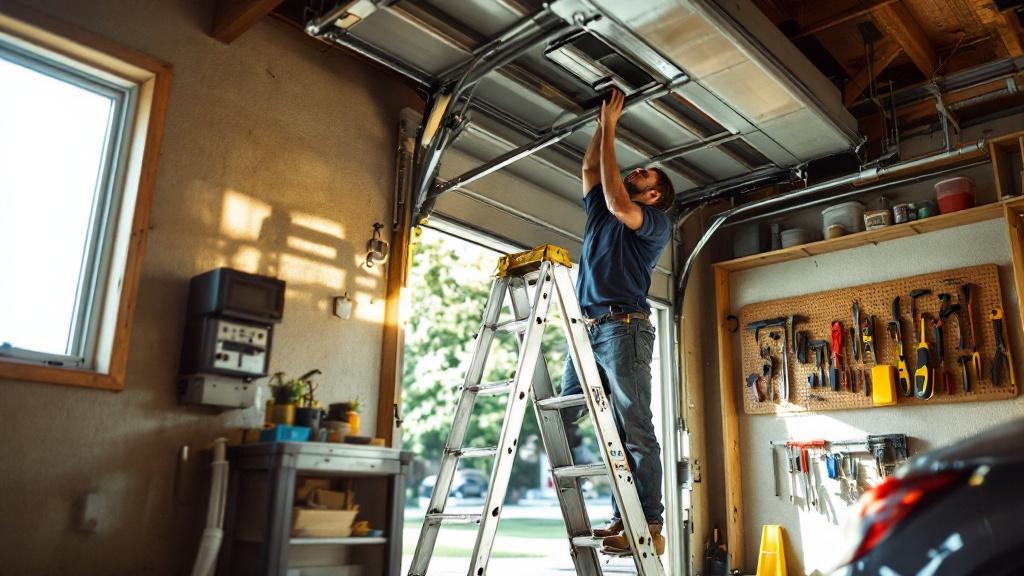
A few minutes of prep makes the job smooth. Before you begin, gather the new remote, a sturdy step ladder, and clear access to the motor unit on the ceiling. If you have the opener’s manual, keep it nearby. You can still do this without it, but it helps when models act a little different.
-
Tools and items to gather:
-
The new remote and a fresh battery (common sizes: CR2032, CR2016, or A23—check your remote).
-
A stable step ladder.
-
Your opener manual or model number (helpful for exact quirks).
-
A phone to snap photos of DIP switch patterns.
-
-
Safety comes first:
-
Make sure the door’s path is clear of cars, tools, and people.
-
Set the ladder on flat ground and move it instead of reaching.
-
Let others in the house know you are working so no one tries the wall button mid-process.
-
If your wall control has a lock or vacation mode, turn it off or the opener will not accept remotes.
-
Fresh batteries matter more than most people think. A weak battery can light the remote’s LED but fail to send a strong signal. Last, figure out your opener type before you start, as the automatic garage door openers market continues to evolve with diverse technologies and security features. This single step saves time because the process for how to program garage door remote depends on whether you have a Learn button or DIP switches, and on the opener’s tech version.
How to Identify Your Garage Door Opener Type
You have two main categories. Most openers made since the mid‑1990s use a Learn button with rolling code security, reflecting trends in the automatic garage door market toward enhanced safety features. Older units use DIP switches with a fixed code. Look up at the motor head on the ceiling. You will either see a small Learn button near an antenna wire and LED, or a small panel hiding a row of tiny switches.
Openers With a Learn Button (Modern Systems)
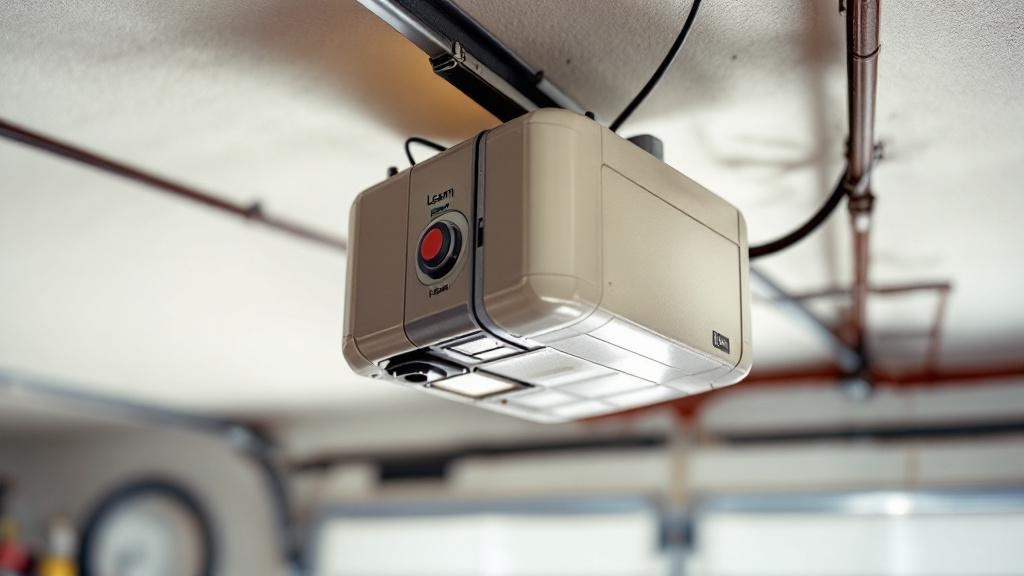
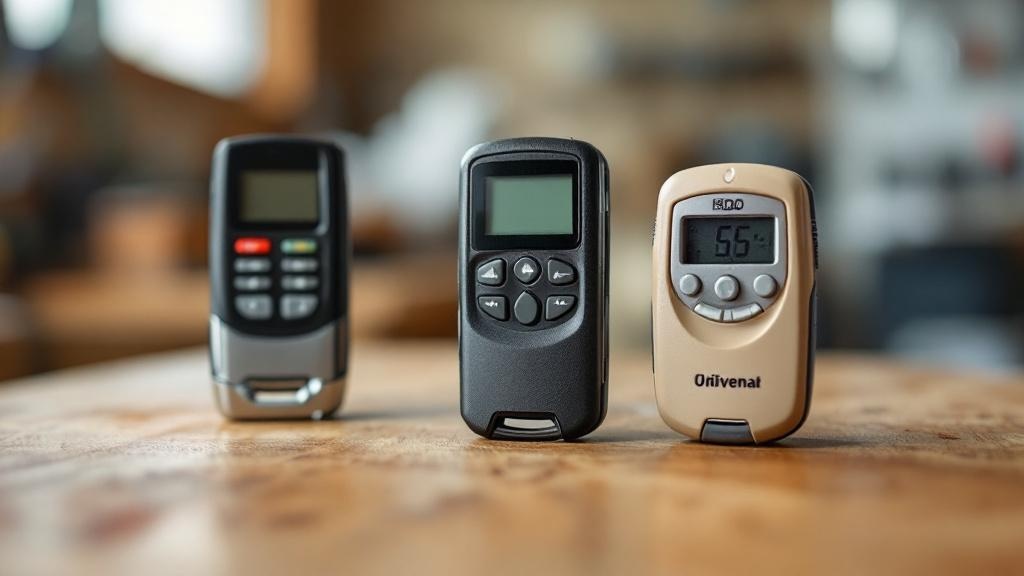
The Learn button is a small square or round button on the back or side of the motor unit, usually close to a short hanging antenna wire and a tiny LED. Brands like LiftMaster, Chamberlain, Craftsman, and Genie use this layout. The button color tells you the tech and helps match remote compatibility:
-
Green = early “Billion Code” units (about 1993–1997).
-
Red or Orange = Security+ at 390 MHz (about 1997–2005).
-
Purple = Security+ at 315 MHz (about 2005–2014).
-
Yellow = Security+ 2.0 (about 2011–present), often with MyQ features.
Match the remote to this color group and you are set for how to program garage door remote the right way.
Openers With DIP Switches (Older Systems)
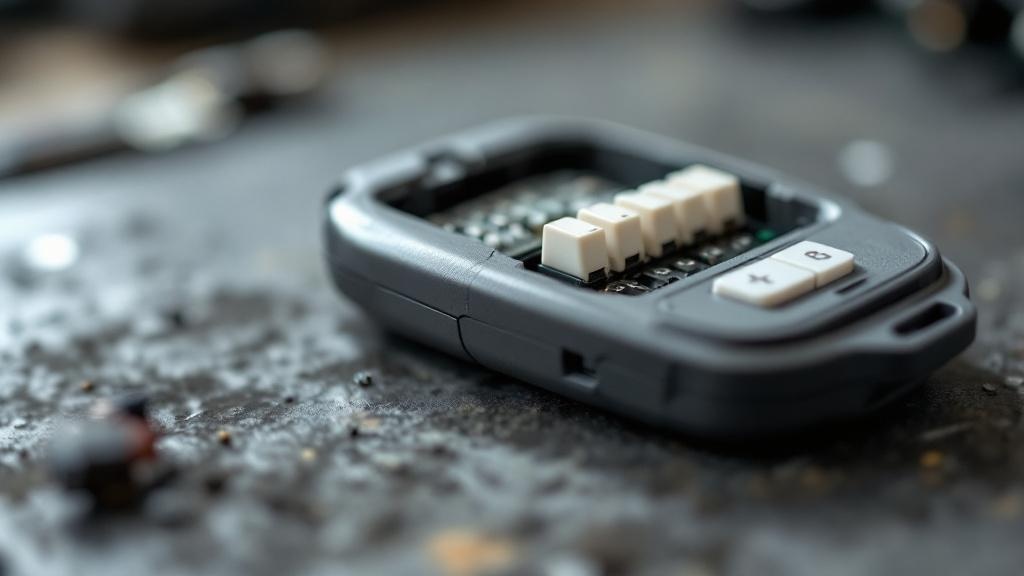
DIP switches are a row of tiny up or down toggles, usually 8 to 12 in a row. Your remote and the motor unit both have them. The code is fixed, so the switch pattern must match exactly in both places or the door will not move. You will find the motor’s switches behind a small panel and the remote’s inside the battery area. These still work fine, but they are not as secure as modern rolling code systems.
Step-By-Step Programming Remotes With a Learn Button
This method applies to most modern Chamberlain, LiftMaster, Craftsman, and many Genie units, and understanding how to program the Genie universal remote can help with compatibility. The key is timing. After pressing Learn, you have about 30 seconds to finish. Read through once before you start, then climb the ladder and do it smoothly—you can also reference video tutorials that show how to program garage door openers step-by-step. If you are showing a neighbor how to program garage door remote, this is the sequence to share.
For Green, Red or Orange, and Purple Learn Buttons
-
Stand on a stable ladder with the remote in hand. Keep the door’s path clear.
-
Press and release the Learn button on the motor for about one second. Do not hold it down longer or you can wipe every remote from memory. The small LED should turn on to show it is ready.
-
Within 30 seconds, press and hold the remote button you want to use for this door.
-
Keep holding until the opener’s main light flashes once or you hear a click from the unit.
-
Release the remote button and step down.
-
Test the button from a safe distance. The door should move on command.
-
If nothing happens, repeat the sequence. Watch the timing and make sure you are within range.
Those light flashes or the click are your confirmation that the code took. This is the most common path for how to program garage door remote on modern systems.
“If the opener doesn’t flash or click, you either missed the window or the remote isn’t compatible with that Learn-button color.” — T&I Home Services
For Yellow Learn Buttons: Security+ 2.0 Systems
-
Press and release the yellow Learn button. The yellow LED turns on for about 30 seconds.
-
Within that window, press and release the chosen button on your remote one time.
-
Wait for two light flashes or two clicks from the opener.
-
Press and release the same remote button again to finish the pairing.
-
Test the button. The door should now run.
This two-press method is part of the stronger Security+ 2.0 protocol. Many yellow button openers also support MyQ smart features. If your unit behaves differently, check the manual for that exact model and then retry how to program garage door remote using the steps above.
Programming Older Garage Door Remotes With DIP Switches
Older openers use a simple match-the-pattern process. It is a hands-on task but very doable. If you want a smoother, more secure setup later, we can talk about an opener upgrade, but here is how to program garage door remote on a DIP switch unit right now.
-
Unplug the opener from the ceiling outlet so the door cannot move while you work.
-
Open the small panel on the motor head to find the DIP switches. You may need to remove a screw.
-
Write down the exact up or down position for each switch, or snap a clear photo. Every switch matters.
-
Open the new remote’s battery compartment to find its DIP switches.
-
Use a small screwdriver or pen tip to set each remote switch to match the motor’s pattern exactly.
-
Close both covers and plug the opener back in.
-
Stand back and press the remote. If the pattern is perfect, the door will run.
If the door does not move, double-check every switch. One wrong toggle will stop it. This is the classic way for how to program garage door remote on a vintage opener.
How to Program Universal Garage Door Remotes
A universal remote is a handy option when you want one remote for multiple doors, you lost the original, or you have different brands at home and work. These remotes store codes for many openers and can work with both Learn button and DIP switch systems. The key is to follow the instructions for your specific remote while keeping the opener’s tech in mind.
-
Method 1: Brand codes
-
Open your universal remote’s booklet. Find your opener brand and, if listed, the color of the Learn button.
-
Put the universal remote into programming mode as the booklet explains.
-
Press and release the opener’s Learn button.
-
Follow the sequence in the manual, which may have you press the chosen button on the universal remote a set number of times.
-
Watch for the opener’s light flash or click, then test the button.
-
-
Method 2: Auto-scan
-
Press the opener’s Learn button to start pairing mode.
-
Activate the remote’s scan mode.
-
Press the chosen button over and over at a steady pace until the door moves.
-
Lock in the code as the manual directs, then test a few times.
-
If the first method fails, the scan method often works. Quality universal remotes, like Chamberlain Clicker or Genie Universal, tend to pair quickly when you follow these steps for how to program garage door remote with universal hardware.
-
In-car buttons (HomeLink/Car2U), basics:
-
Clear the car button if needed (press and hold two outer buttons until the indicator flashes).
-
Hold the in-car button and your hand-held remote near the car’s mirror until the in-car light changes, then release.
-
Tap the opener’s Learn button, then press the programmed in-car button 2–3 times until the door moves.
-
Check your car’s manual for model-specific nuances.
-
Troubleshooting Common Garage Door Remote Programming Issues
Programming does not always take on the first try. That is normal. Start with the simple fixes and move down the list. Most issues with how to program garage door remote come from batteries, timing, or interference.
-
Remote will not program at all:
-
Swap in a fresh battery. A weak battery can light the remote’s LED but still fail to reach the opener.
-
Confirm the remote matches your opener’s tech. A remote made for a purple Learn button will not work with a yellow unit.
-
Try programming while you are right under the motor; stay within the 30‑second window after pressing Learn.
-
Check that your wall control is not in lock/vacation mode, which blocks all remotes.
-
If you have many devices tied to the opener already, you may need to clear memory first.
-
-
Remote has poor range or works on and off:
-
Start with the battery, then look at the opener’s antenna wire. It should hang straight down and not be coiled or stapled.
-
Radio noise can cut range. Some LED bulbs create interference, especially cheap ones in the opener housing. Try removing the bulbs and testing, or use opener‑friendly LED bulbs.
-
Other sources include routers, battery chargers, or fluorescent lights near the unit. Move or power down nearby devices during testing.
-
-
Door will not move and lights blink ten times:
-
This points to a safety sensor problem, not a remote issue.
-
Check the sensors near the bottom of the tracks. Both LEDs should be steady, and the line between them should be clear.
-
-
Need to clear the opener’s memory:
-
Press and hold the Learn button for about 6 to 10 seconds until the LED turns off.
-
This wipes every device, including remotes, keypads, and in‑car buttons.
-
After that, reprogram each device one by one using the steps above for how to program garage door remote.
-
“Never operate a garage door by remote unless you can see the door and confirm the area is clear.” — T&I Home Services Safety Reminder
When to Call a Professional for Garage Door Remote Issues
Most of the time, programming is a quick DIY win. But some problems go beyond the remote. If you have tried a new battery, confirmed compatibility, watched the timing, and even cleared memory with no success, the issue may be the opener’s receiver or logic board. If the Learn button shows no LED when pressed, or the opener ignores the wall button and keypad too, there is a deeper fault that needs diagnosis.
Stop and call for help if you see frayed wires, cracked covers, or if the motor head makes grinding or clicking sounds, as injury patterns and epidemiology studies show that automatic door malfunctions can pose safety risks. Door behavior that looks odd, like reversing for no clear reason or refusing to close, can point to sensor wiring or a failing board. If the work involves electricity and you are not comfortable, there is no shame in calling a pro.
We serve Delaware, Montgomery, and Chester Counties with same‑day availability when access is urgent. At T&I Home Services, our certified and insured techs test the remote, receiver, board, sensors, and power path to pinpoint the real cause fast. We offer clear, upfront pricing with no hidden fees and are proud of our local customer reviews. We tell you if you just need a new remote, a receiver repair, or a full opener replacement. That way you get a safe, reliable door and your time back.
Key Takeaways
You can master how to program garage door remote in minutes once you know your opener type. Modern units use a Learn button with a quick timing window. Older units use DIP switches that must match exactly. Universal remotes work well when you follow their brand code or scan steps. Most problems trace back to weak batteries, bad antenna position, or radio noise from light bulbs. When the opener ignores every control or shows signs of damage, we can help. T&I Home Services brings fast, local support across Delaware, Montgomery, and Chester Counties.
Conclusion
Programming a garage door remote does not have to be a headache. With the right steps, how to program garage door remote is a simple process for Learn button systems and a careful match for DIP switch units. Universal remotes add flexibility when you need one device for multiple doors. If the remote will not pair, think batteries, timing, compatibility, antenna position, and possible interference. When the opener’s symptoms point past the remote, bring in a pro. T&I Home Services is ready with same‑day help, licensed techs, and clear pricing across the Greater Philadelphia suburbs. Whether you want quick DIY guidance or hands‑on service, we are here to keep your garage access safe and reliable.
FAQs
How long does it take to program a garage door remote?
Most people finish in two to five minutes on a Learn button opener once they know how to program garage door remote. DIP switch units can take five to ten minutes because you must match each switch. If you need to troubleshoot a battery or timing issue, add a few extra minutes.
Can I program multiple remotes to one garage door opener?
Yes. Most openers store several devices (often 5–8 or more, depending on model). Just repeat the Learn button process for each remote one at a time as you follow how to program garage door remote. Keep in mind that clearing memory removes every device, so you will need to reprogram all remotes, keypads, and in‑car buttons afterward. Track your devices for safety.
Why will my garage door remote not work after replacing the battery?
Check that you used the correct battery type and that it sits the right way in the tray. Some remotes need to be reprogrammed after the battery was dead for a long time, so run through how to program garage door remote again. If it still fails, look for radio noise or a faulty remote.
What is the difference between Security+ and Security+ 2.0?
Security+ units, often red, orange, or purple Learn buttons, use rolling codes to stop code grabbers. Security+ 2.0, marked by yellow Learn buttons, adds stronger encryption and often works with MyQ features. It uses a two-press pairing method when you learn how to program garage door remote. Both options provide strong access control.